Choosing the right FPV VTX (Video Transmitter) is essential for a seamless FPV flying experience. The FPV VTX is responsible for sending live camera footage to your goggles, so factors like size, features, channel options, signal accuracy, range, and power output are crucial. This guide will break down what you need to know to select the best 5.8GHz VTX for your drone, helping you avoid interference and maximize your enjoyment in the air.
Analog vs Digital FPV Systems
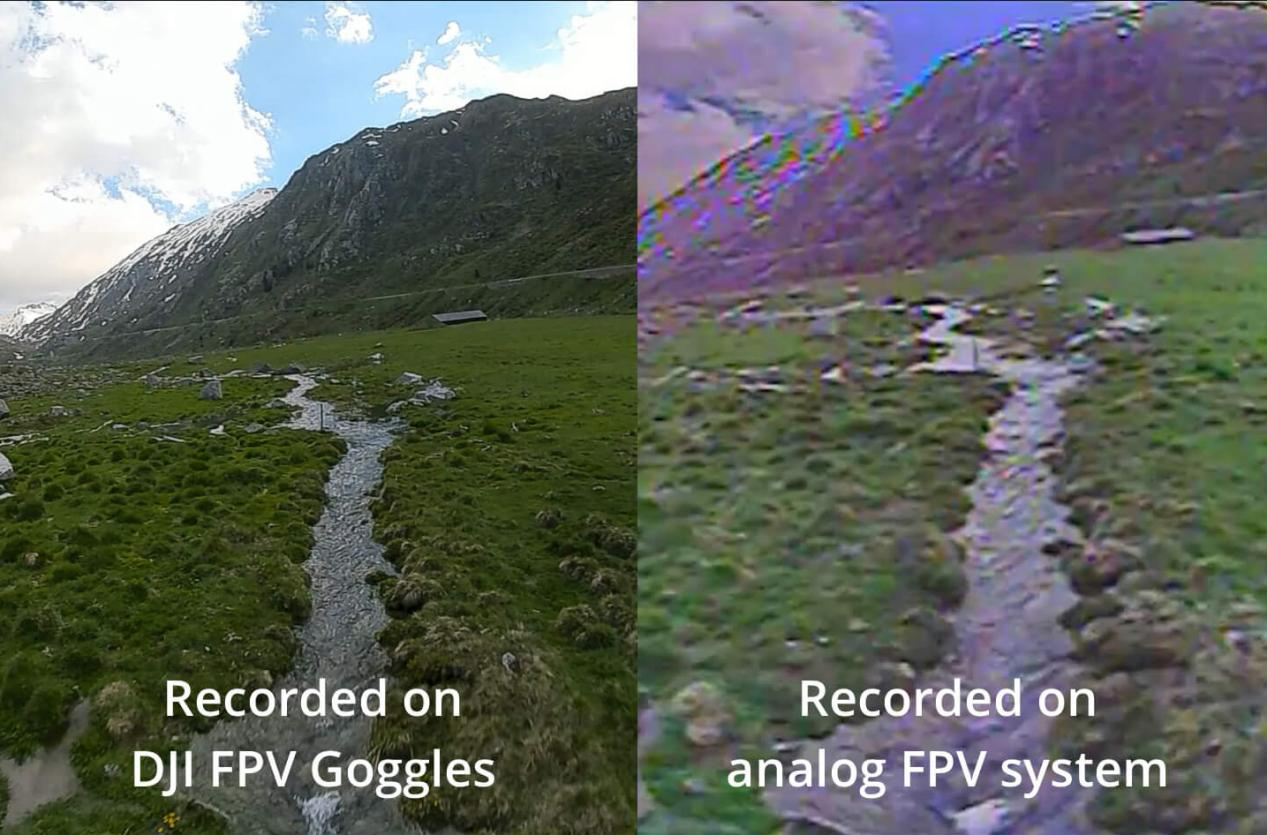
FPV systems come in two main types: analog and digital.
Analog System
- Analog FPV, the original technology, offers lower resolution and can show static when the signal is weak, but it’s favored for its low latency, making it ideal for racing and fast maneuvers.
- Low cost and minimal lag.
Digital System: DJI, Walksnail, and HDZero.
- Delivering sharp HD video, and enhancing the flying experience with clear, immersive visuals.
- It has slightly higher latency.
- Superior video quality and a modern setup.
- Expensive
It’s important to note that analog and digital FPV VTXs are not compatible, and each digital system has its own unique gear that isn’t interchangeable with others.
FPV VTX Recommendations
DJI O3 Air Unit
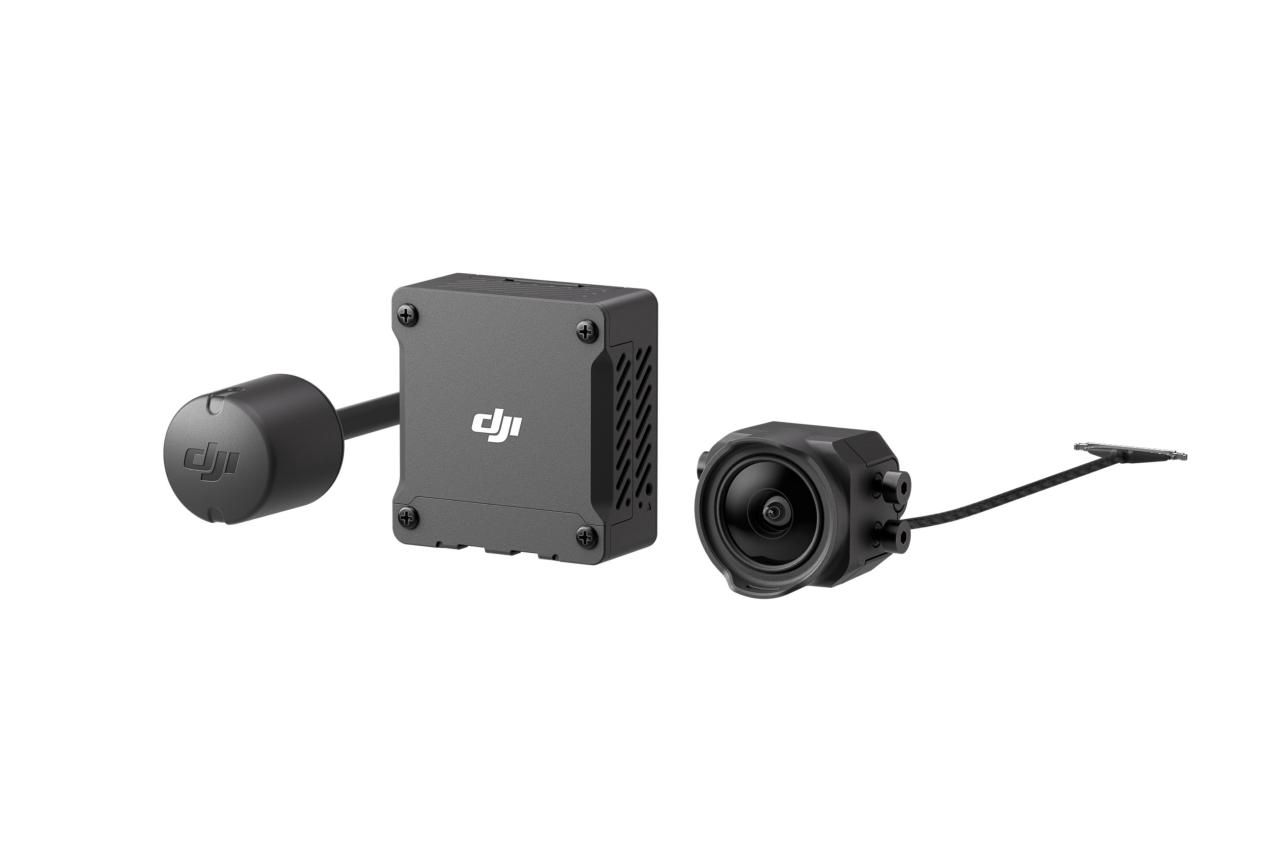
The DJI O3 Air Unit is a top choice for pilots who want great image quality and long range. It combines an FPV VTX with a 4K action camera, giving you clear and detailed video. However, it only works with DJI FPV Goggles V2, Goggles 2, and Goggles Integra—not with the V1 goggles. Right now, it only supports the O3 camera module, so you don’t have other camera options. This unit is perfect for pilots who want high-quality video and a modern FPV setup.
Walksnail Avatar HD FPV VTX V2
The Walksnail Avatar HD V2 FPV VTX is a good option for pilots who want solid features without spending too much. It has 32GB of storage for recording in 1080p, supports Gyroflow for smoother video, and includes a heatsink to reduce GPS interference. The extra 20x20mm mounting options make it easier to fit on different frames.
However, there are some downsides. It doesn’t have an SD card slot for more storage or support 4K recording. The single antenna might also affect its range and signal strength. Still, the Walksnail V2 VTX offers good performance and is compatible with multiple flight control systems, making it a great choice for budget-conscious pilots.
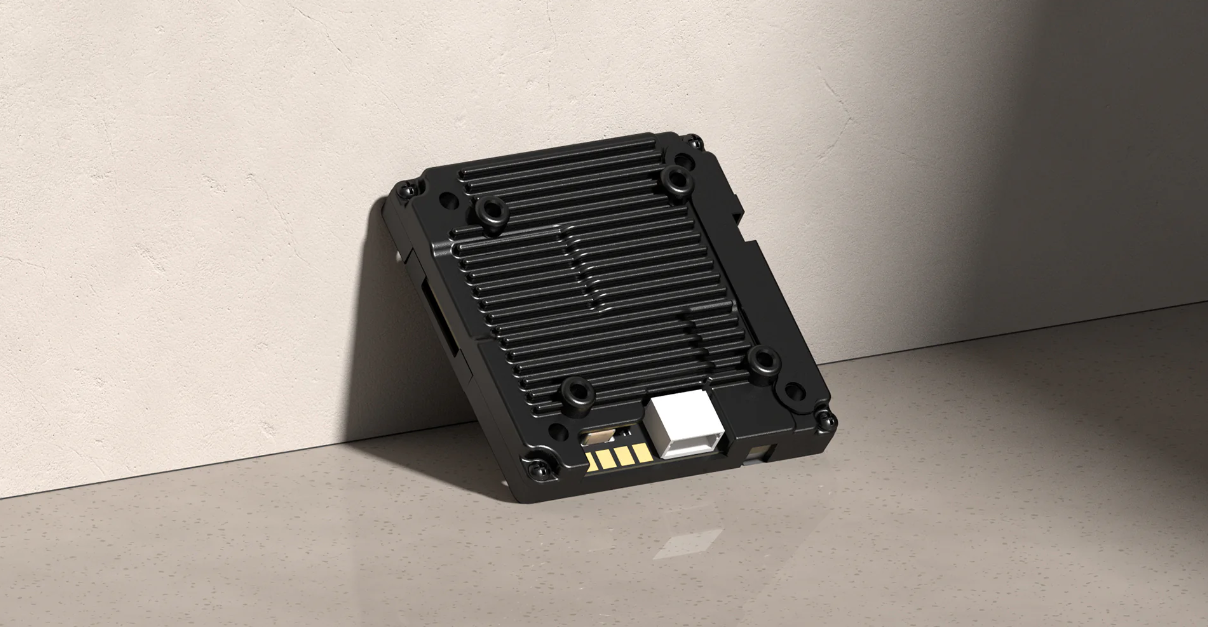
TBS UNIFY PRO32 HV FPV VTX
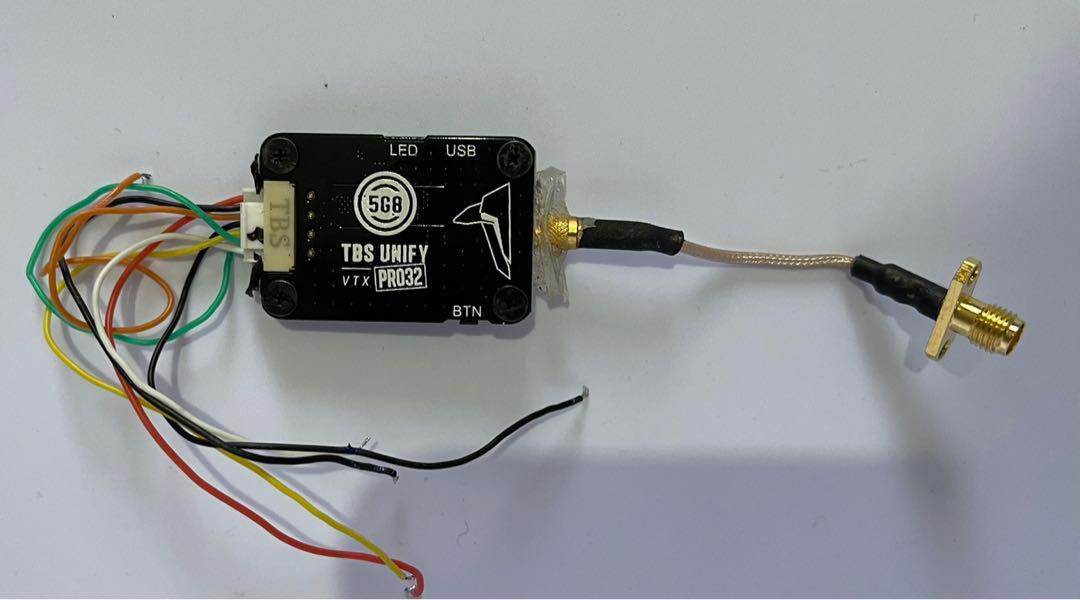
The TBS Unify Pro32 HV FPV VTX is a top-notch choice for reliable performance in long-range, racing, and freestyle flying. It delivers up to 1000mW of power in a compact design, ensuring strong and clear signals.
It supports TBS Crossfire, allowing you to change channels and power levels directly through the receiver—great for pilots without a flight controller or Betaflight OSD. Key features include PitMode for minimal interference during testing, SmartAudio V2.1 for full VTX control, and CleanSwitch for interference-free power-ups.
Antenna Connector with FPV VTX
The most common antenna connectors for FPV VTX are SMA, RP-SMA, U.FL (also known as IPEX), and MMCX.
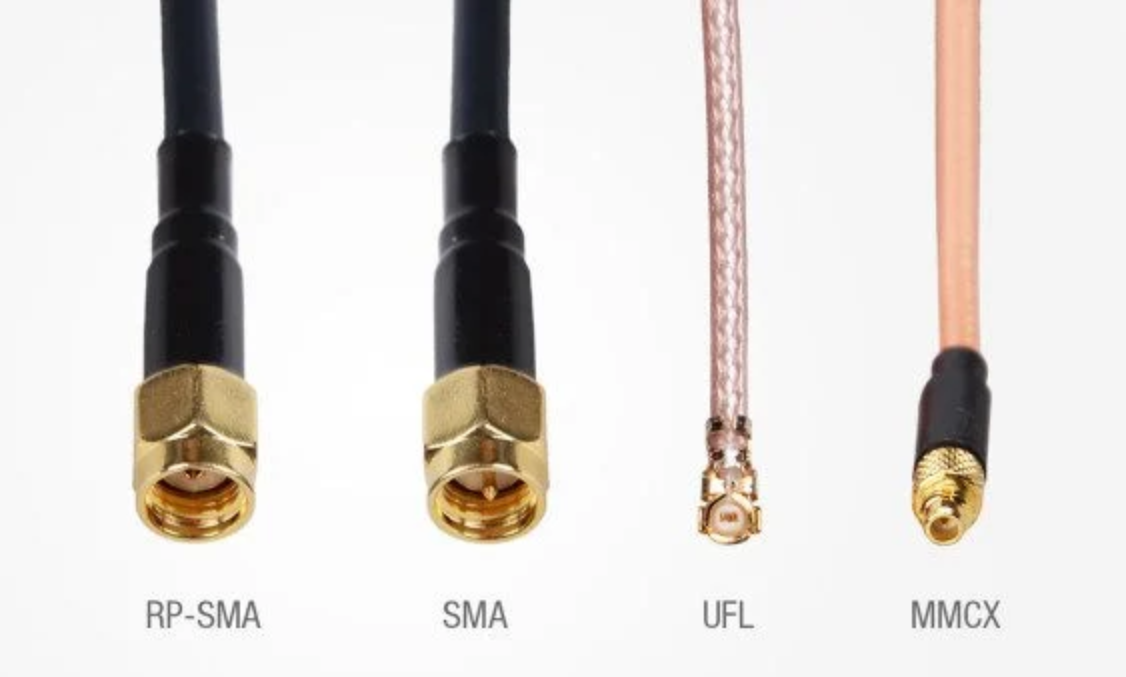
SMA and RP-SMA connectors are large, threaded types that have been around for a while. They’re not interchangeable, so ensure you match the connector with the correct antenna for your FPV VTX. While adapters exist, they can cause minor signal loss.
U.FL connectors are small and lightweight, making them popular for compact FPV VTXs. However, they are more prone to wear and can disconnect during crashes. To secure them better, manufacturers often use glue.
MMCX connectors offer a balance between durability and size. They’re sturdier than U.FL connectors and less likely to disconnect, but MMCX antennas can be harder to find.
Remember to always attach an antenna before powering on your FPV VTX to avoid damage. Using an adapter can also protect your FPV VTX by reducing strain on the connector during crashes.
Frequency, Channels, and Bands
When pairing your FPV VTX with your goggle’s video receiver, think of it like tuning a radio. To get a clear signal, you need to match the frequency, band, and channel of your FPV VTX with those on your goggles.
Frequency: Most FPV VTXs operate at 5.8GHz, but some may use other frequencies like 1.3GHz. Ensure your goggles support the same frequency as your FPV VTX.
Bandwidth: Analog FPV VTXs use a 30MHz bandwidth. For digital systems like DJI, Caddx Vista, and Runcam Link, the bandwidth depends on the bitrate: 20MHz for 25mbps and 40MHz for 50mbps. Check your FPV VTX’s specs and your goggles’ compatibility.
Band: FPV VTXs operate on specific bands (A, B, D, E, F, R, etc.). Make sure your FPV VTX and goggles are set to the same band.
Channel: Each band has up to 8 channels (1-8). Both your FPV VTX and goggles need to be on the same channel within the same band.
Matching these settings ensures a good signal and a smooth FPV experience.
Channel Switching
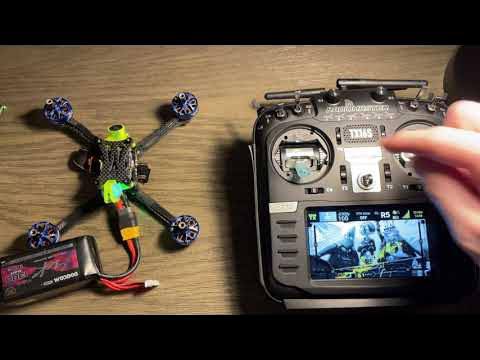
The simplest way would probably be to use the Betaflight OSD menu. If your flight controller and vtx support it there is usually and on screen display for edit options. I believe usually you do the following stick combination with everything powered up to open the OSD:
- throttle centre
- Yaw left
- pitch forward
You can then use the sticks to control the OSD and go to FPV VTX settings (if supported). Once in there you can change your channel and save the options, after doing which you will then need to tune your goggles to the new channel you selected.
You could also download the betaflight configurator on your computer and connect to the quad using a USB cable, which would allow you configure the VTX settings graphically.
Power Output
FPV VTX power output determines how strong the signal is. Common outputs include 25mW, 200mW, 400mW, and 600mW. Higher output generates more heat and needs better cooling.
While 25mW can cover distances up to a mile without obstacles, 200mW is generally sufficient for most casual flying. For long-range flights, a higher output VTX (1.2-1.3GHz, 600mW+) may be beneficial.
However, more power doesn’t always mean better performance. Factors like receiver quality, antenna setup, and flying environment are crucial. In confined spaces, higher power can cause signal interference due to reflections. Opt for higher power only when necessary, and consider FPV VTXs with adjustable power settings for flexibility.
Different Flight Styles Require the Use of FPV VTX Types and Sizes
Racing
For FPV racing, quick response and clear signal are crucial. Ensure your FPV VTX meets local race regulations. Analog FPV VTXs and the HDZero system are popular for racing due to their high performance. Some events use HDZero Race Event VRX, so using compatible FPV VTX gear is essential.
Videography / Cinematography
In FPV videography, high-definition video and a stable connection are key. The DJI O3 and Caddx Vista FPV VTX systems are preferred for their superior video quality and reliability. While HDZero works well, it can struggle with obstructions. Many professionals opt for DJI FPV VTX systems for their proven consistency.
Range and Physical Size
Different FPV VTX systems offer varied ranges and sizes. The DJI O3 FPV VTX is a compact all-in-one solution but may limit frame choices. The DJI V1/V2 FPV VTX systems, though still supported, are harder to find. The Caddx Vista and Walksnail FPV VTX systems provide a range of sizes and compatibility, making them versatile for different flying styles, whether analog or digital.