Introduction
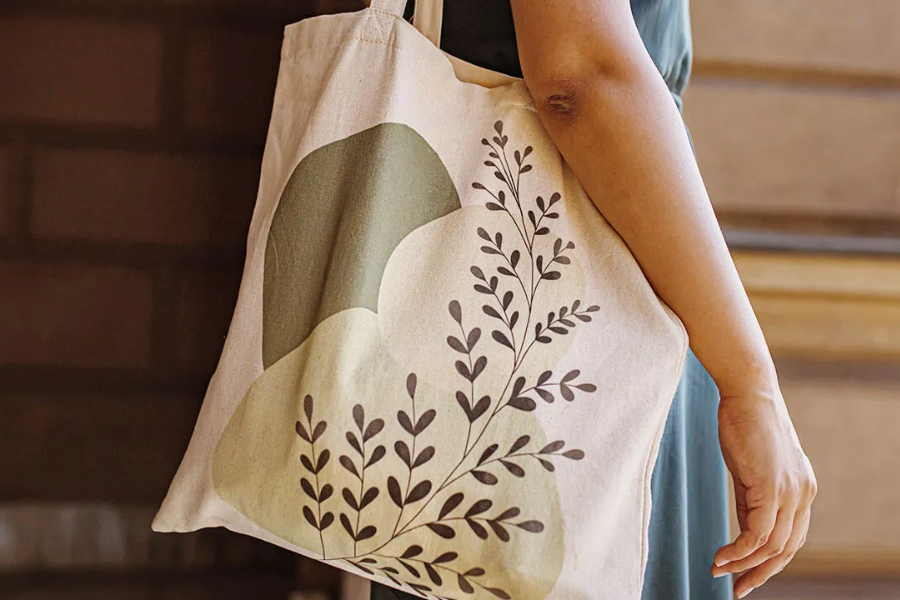
Custom tote bags are more than simply a stylish accessory—it’s a manifestation of your individuality and an outlet for your creativity. Making your own custom tote bags is a fun project that can be used for making a one-of-a-kind present or just to inject some personality into your outfit.
Select Your Source
Your tote bag’s appearance and texture will be greatly influenced by the material you select. Think about these possibilities:
• Canvas: Eco-friendly, lightweight, and long-lasting.
• Cotton: supple, airy, and multipurpose.
• Hessian: earthy, rustic, and lends a charming vintage quality.
• Leather: Exquisite, long-lasting, and sophisticated.
Decide on Your Size
Your custom tote bags utility will depend on its size. Think about how you want to utilise it:
• Compact: Ideally suited for holding necessities such as your phone, wallet, and keys.
• Medium: Perfect for daily usage, it can hold shopping goods, laptops, and books.
• Large: Perfect for transporting larger things or for trips.
Create Your Pattern
The exciting part is here: creating your pattern. One option is to hand-draw the design directly onto the fabric.
• Use a Stencil: Make a stencil of the design you want to use, then transfer it to the cloth.
• Transfer Paper: Use this to transfer a printed pattern to cloth.
• Embroidery: Directly stitch your design into the material.
• Iron-on transfers: Iron a pre-made transfer onto the material you’re working with.
Select Your Materials and Colours
Choose materials and colours that go well with your design. Think about utilising:
• Fabric Paints: Perfect for producing intricate and colourful patterns.
• Markers: For basic designs, they’re quick and straightforward.
• Embroidery floss: Gives your design more depth and substance.
• Appliques: prefabricated fabric shapes that attach to your custom tote bags by sewing or ironing.
Execute Your Concept
To transfer your design to the cloth, adhere to the guidelines provided for the method you have selected. Allow paints or markers to completely dry before continuing if you’re using them.
Make the Straps
For your handles, you can use leather strips, cloth, or even rope. After cutting them to the appropriate length, firmly fasten them to the top of your custom tote bags.
Complete the Corners
Finish the edges of your custom tote bags to avoid fraying and to give it a more finished appearance. You may use bias tape, a serger, or a zigzag stitch.
Include Individual Touches
Further personalise your tote bag by including:
• Tags: Make your own tags by adding a personalised message or your name.
• Tassels: Use tassels to add a little boho flare.
• Embellishments: Add sequins, beads, or other decorations to your custom tote bags.
In summary
Making your own custom tote bags is a fulfilling and unique experience. You can create a one-of-a-kind artwork that expresses your style and personality with a little imagination and perseverance. So gather your materials and unleash your creativity! When will your project with custom tote bags begin? See our web store for a large assortment of supplies, equipment, and ideas.
Keep an eye for more news & updates on DiscoverTribune!